参考: https://www.widlabs.com/article/mac-os-x-nginx-compile-symbol-not-found-for-architecture-x86_64 http://homeway.me/2015/07/10/rebuild-osx-environment/ http://www.jianshu.com/p/9523d888cf77
下载nginx源码,openssl源码压缩包
nginx下载地址:http://nginx.org/en/download.html openssl下载地址:https://www.openssl.org/source/
解压nginx和openssl压缩包,解压之后的目录如下:
 <!-- more -->
进入到nginx目录,使用configure命令,添加https和http2两个模块,
./configure --with-http_ssl_module --with-http_v2_module --with-openssl=/usr/local/Cellar/openssl-1.0.2l
执行上面的命令,在输出的信息中,你可能会看到以下信息:

如果出现以上信息,那么在命令之后完成之后,需要进入到objs目录,然后修改Makefile文件。
在nginx目录下:
cd objs vim Makefile
找到:
&& ./config --prefix=/usr/local/Cellar/openssl-1.0.2l/.openssl no-shared \
这句,将config替换为:
Configure darwin64-x86_64-cc
在nginx目录下执行make命令
make
如果没有按照上一步中的提示修改Makefile文件,则会出现以下错误: 
正常编译完成的输出: 
安装
sudo make install
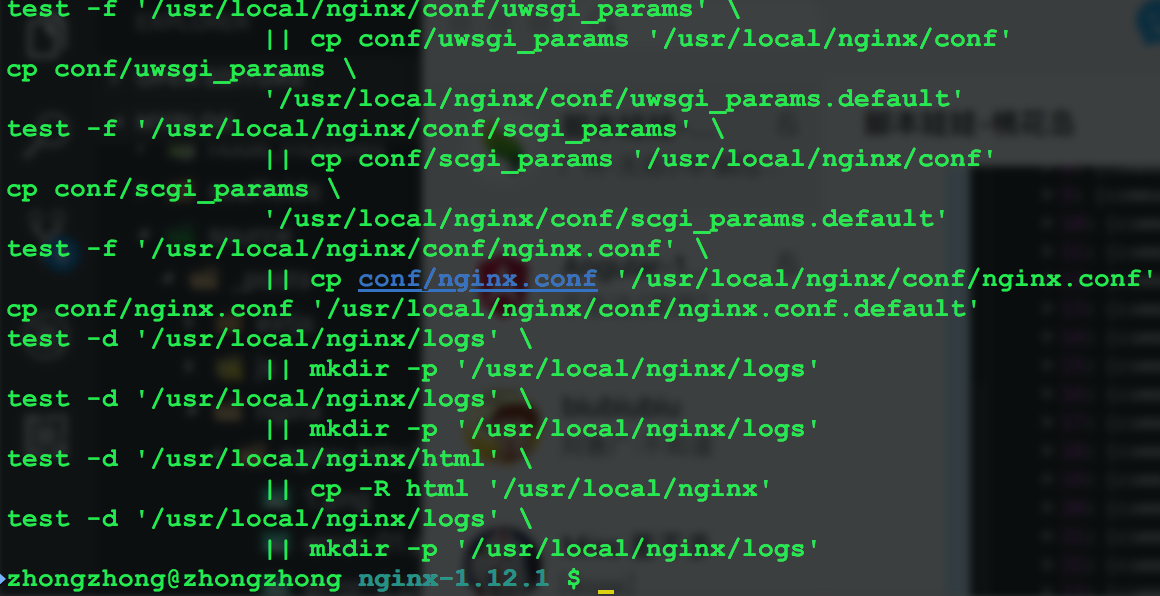
安装完成: 
测试nginx安装是否成功
启动nginx
sudo /usr/local/nginx/sbin/nginx
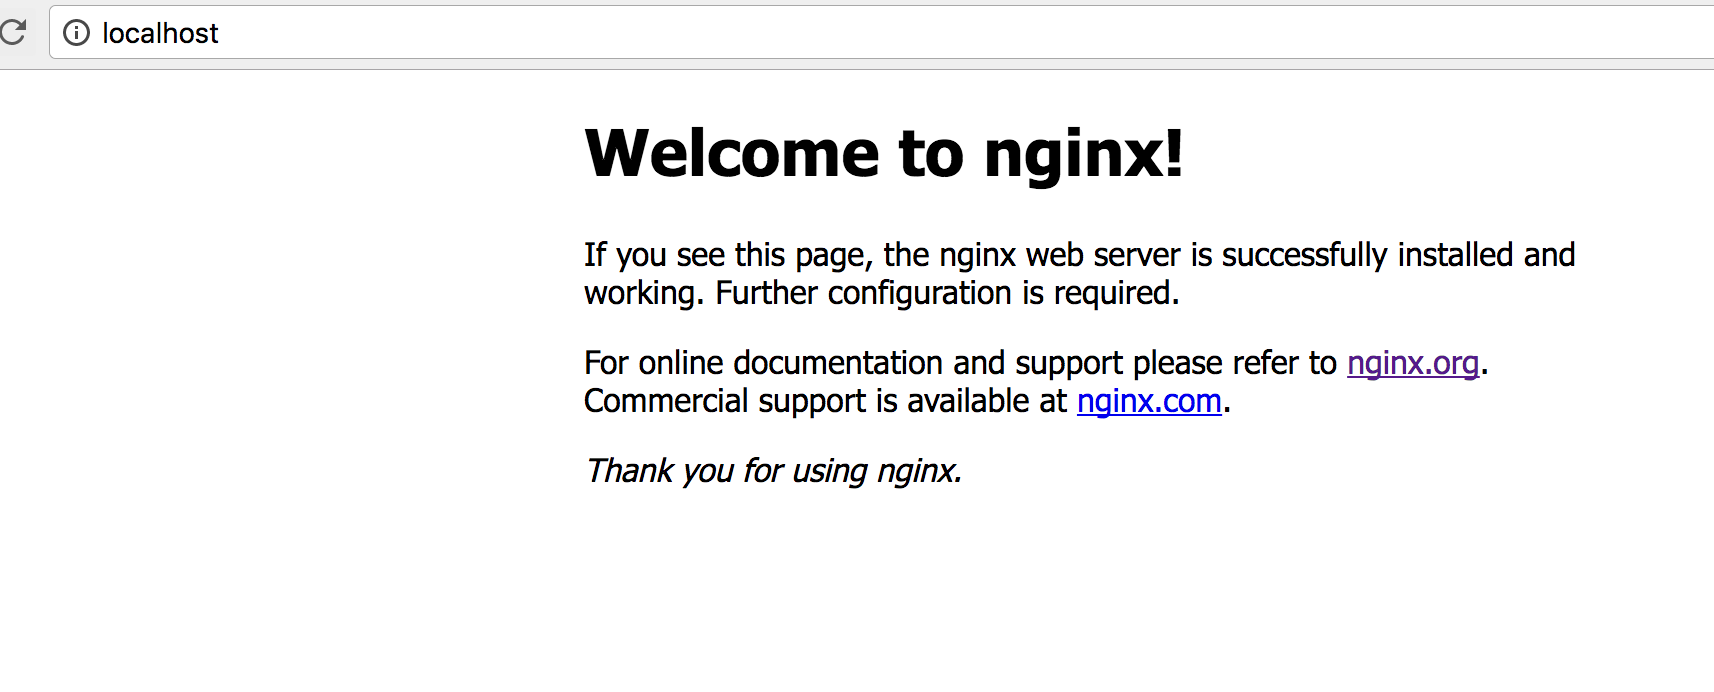
访问:http:localhost

出现以上页面说明nginx安装成功了。
开启https
要开启nginx的https,需要生成SSL Key和CSR文件。 如何生成这些文件参考: http://www.jianshu.com/p/9523d888cf77
以下是生成文件之后的目录结构,这里我将文件生成在/usr/local/nginx目录下: 
然后将/user/local/nginx/conf/nginx.conf中,下面这段配置,去掉注释并修改成以下内容:
server { listen 443 ssl; server_name localhost; ssl_certificate /usr/local/nginx/server.crt; ssl_certificate_key /usr/local/nginx/server.key; ssl_session_cache shared:SSL:1m; ssl_session_timeout 5m; ssl_ciphers HIGH:!aNULL:!MD5; ssl_prefer_server_ciphers on; location / { root html; index index.html index.htm; } }
重新加载nginx,在/usr/local/nginx/sbin目录下执行以下命令:
sudo ./nginx -s reload

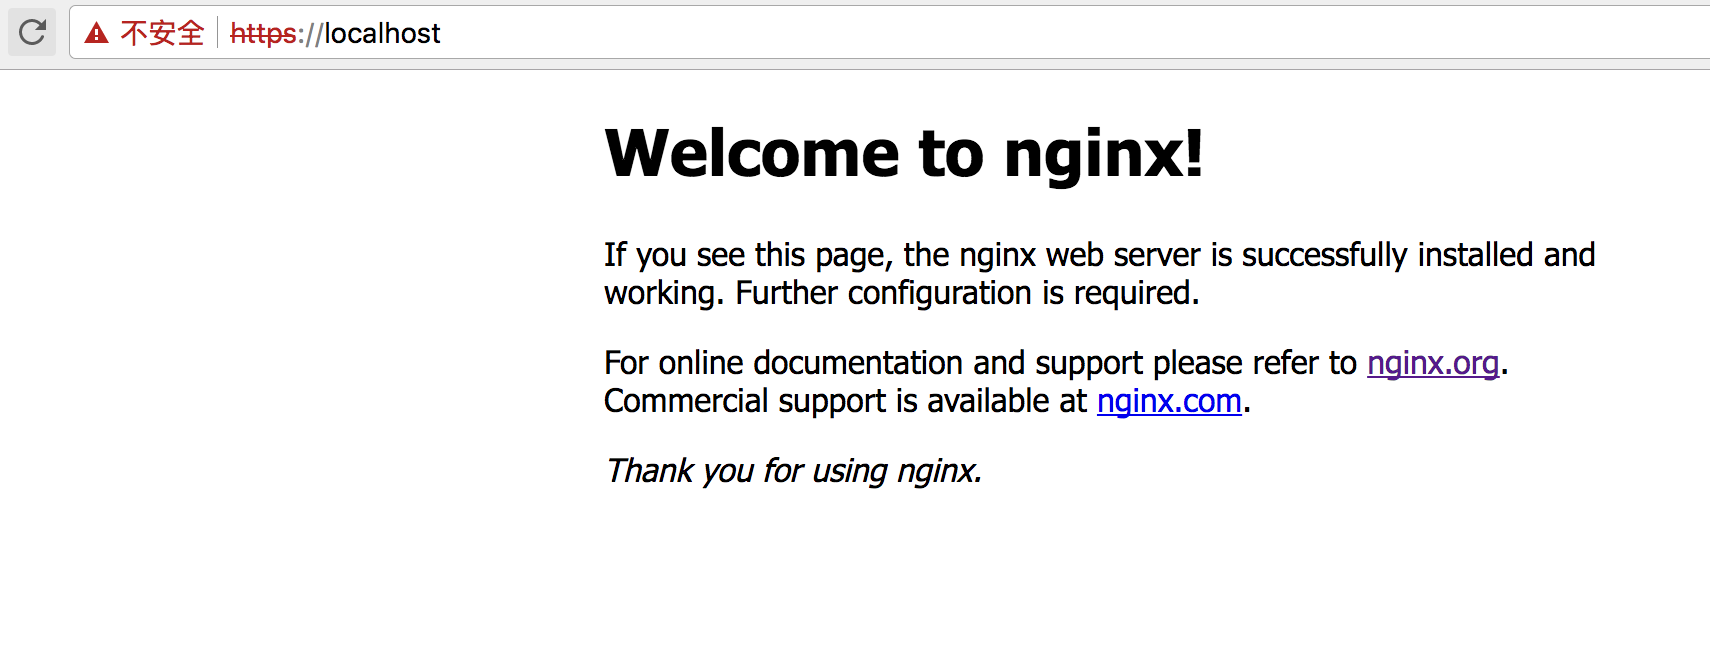
访问https://localhost出现以下页面说明配置成功。 
开启http2
到这一步之后,开启nginx的http2非常简单,只需要将上一步中https的配置中
listen 443 ssl;
修改为:
listen 443 ssl http2;
然后重新启动下nginx,再次访问https://localhost
效果图: 
 <!-- more -->


